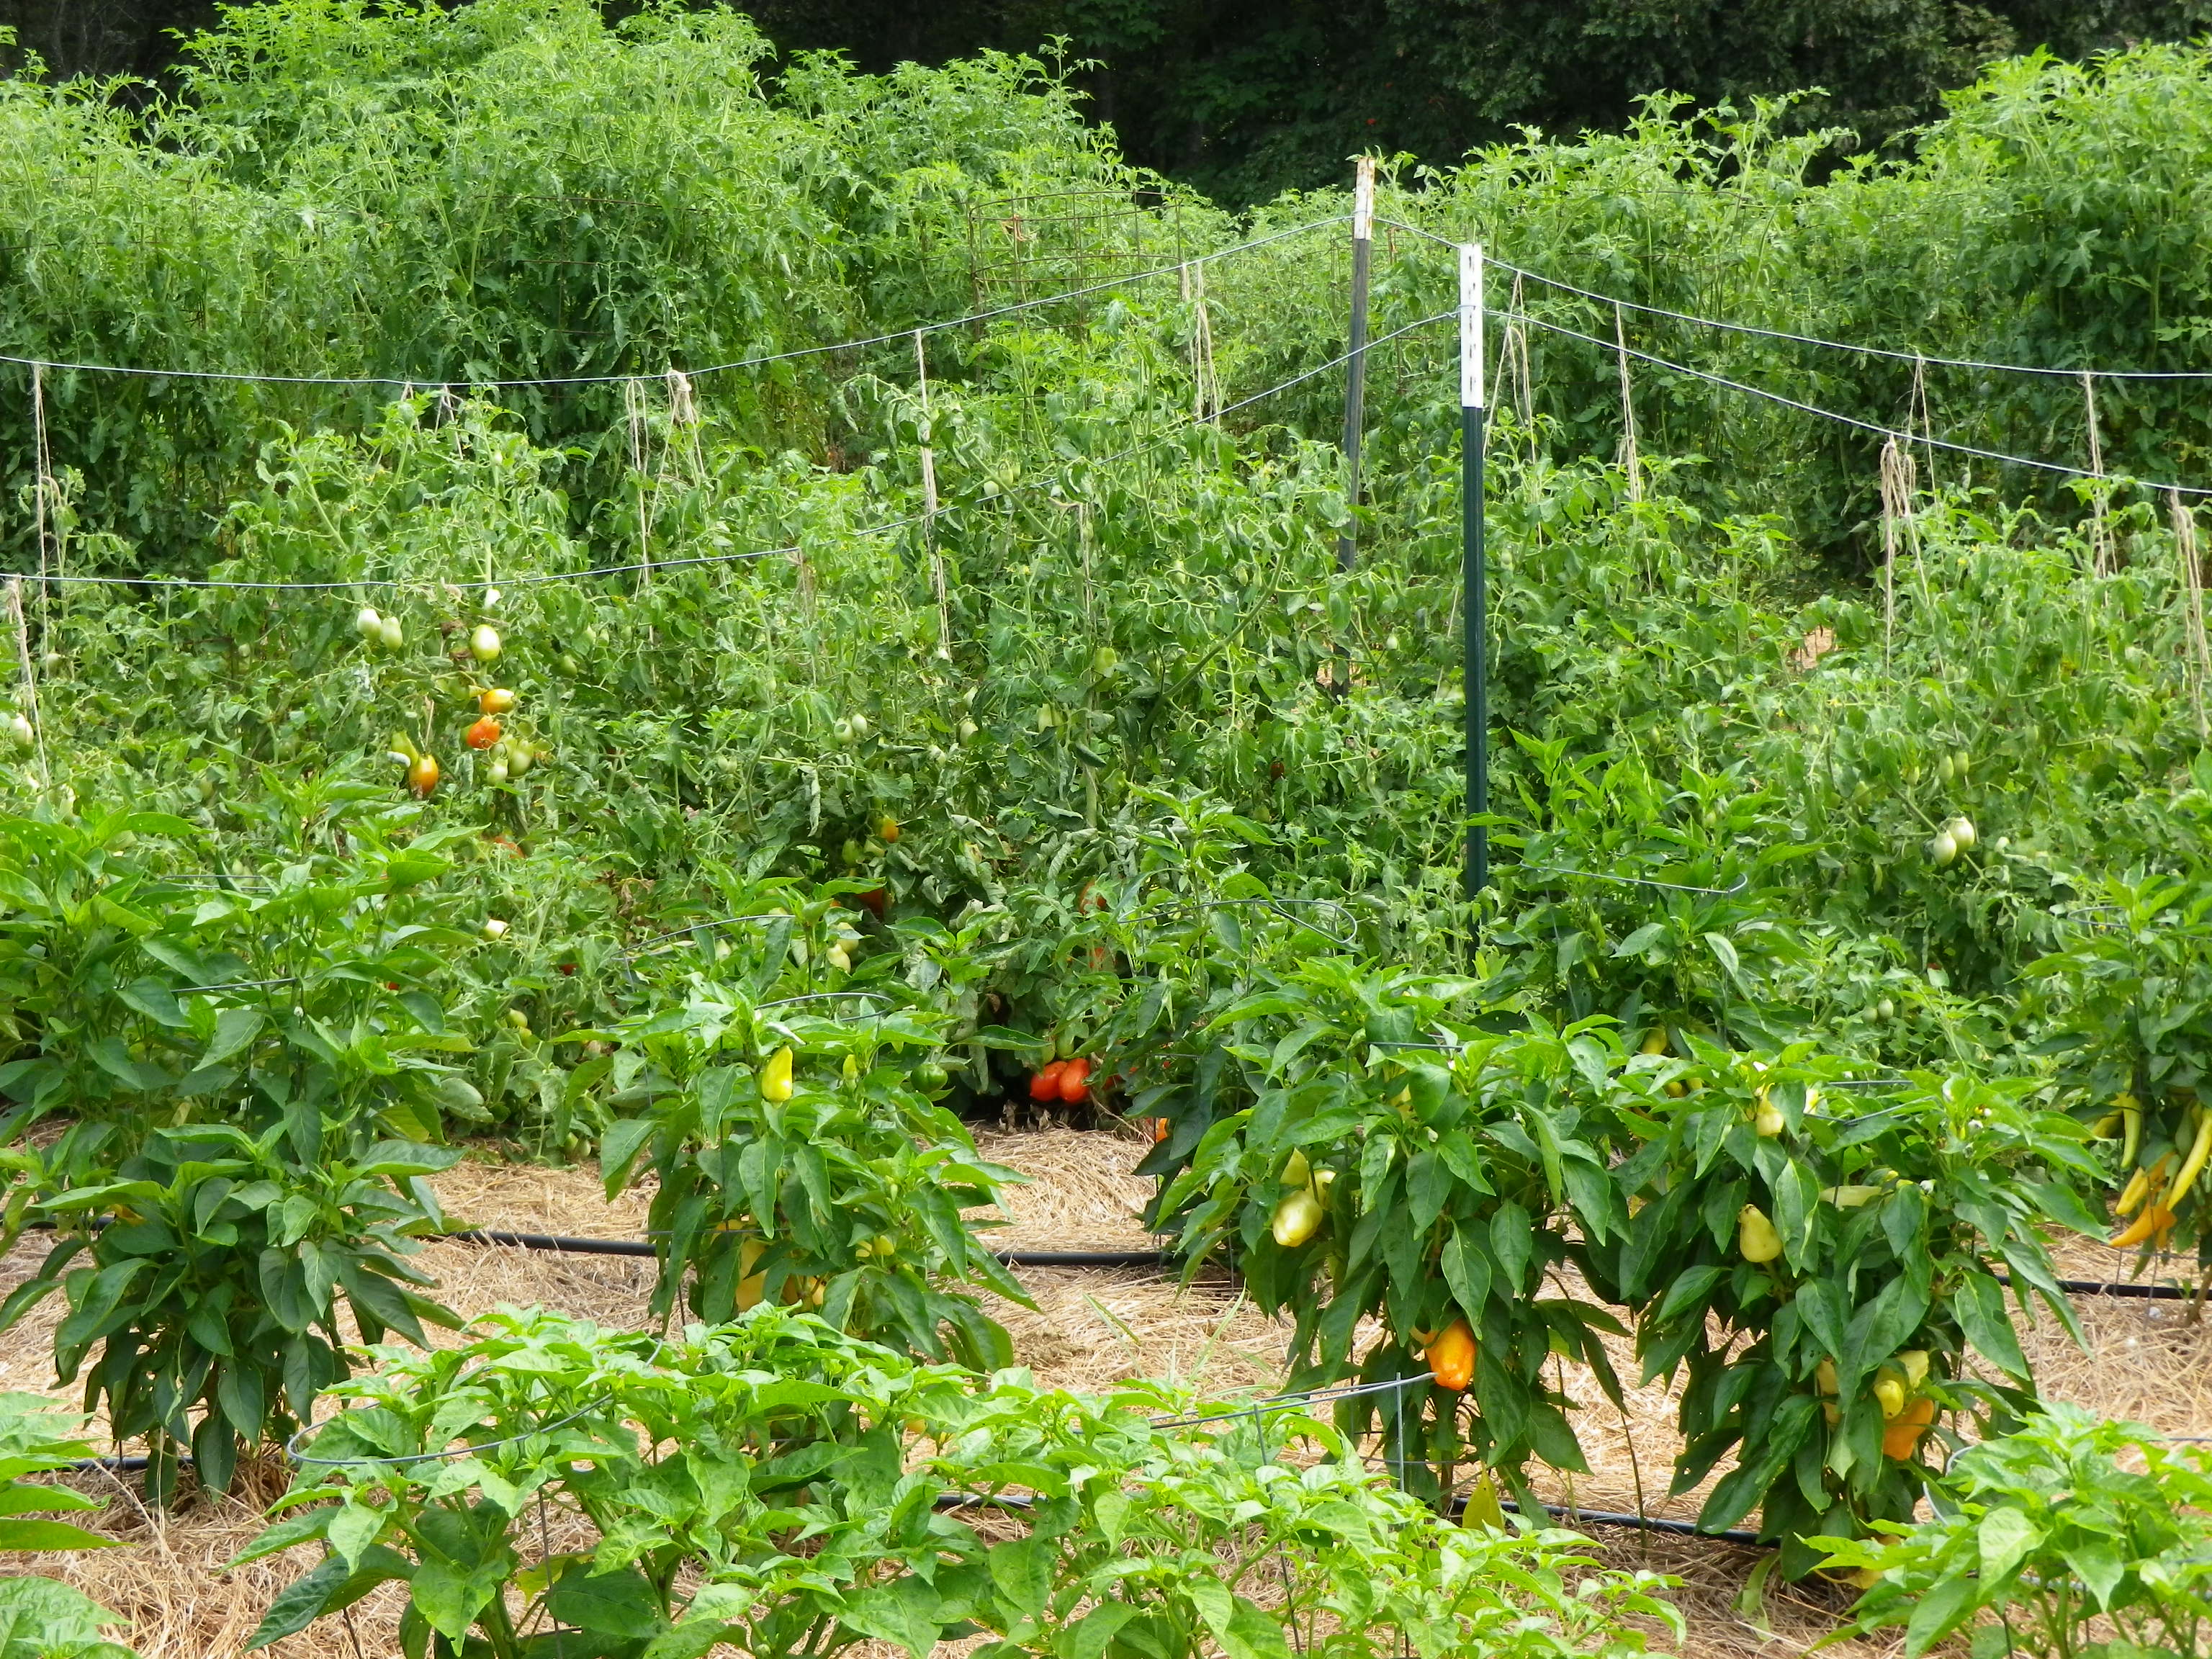
Early in June mulch tomatoes, peppers, okra, squash, cucumbers and asparagus if it hasn’t already been done.
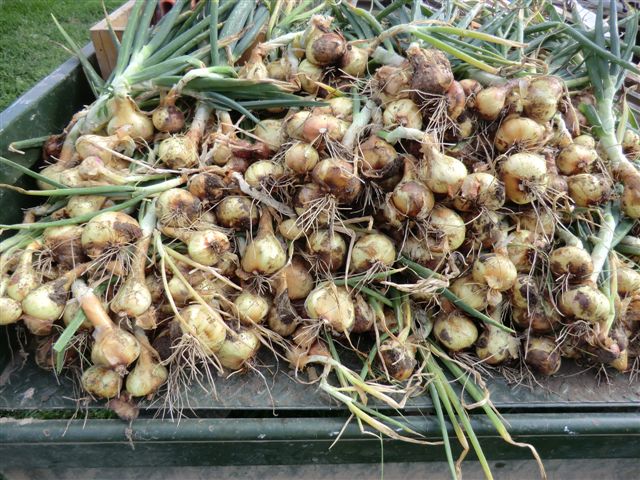
 Harvest onions on a dry day after half the tops have fallen over. For better storage harvest garlic when the 6th leaf down on 50% of the plants is brown. Make sure there are at least four green leaves to form the wrapper layers that protect and extend the storage life of your home grown garlic. Hang onions and garlic to air dry and cure for 2 to 3 weeks before storing.
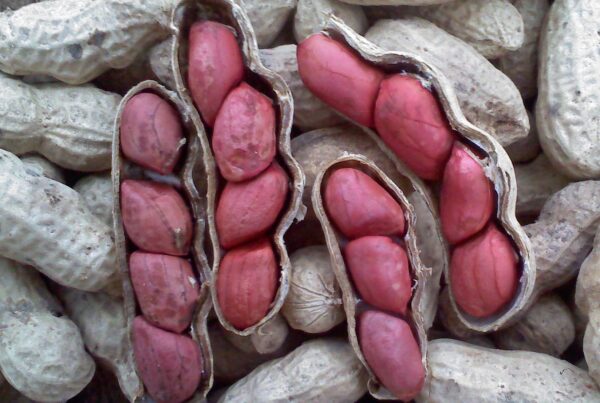
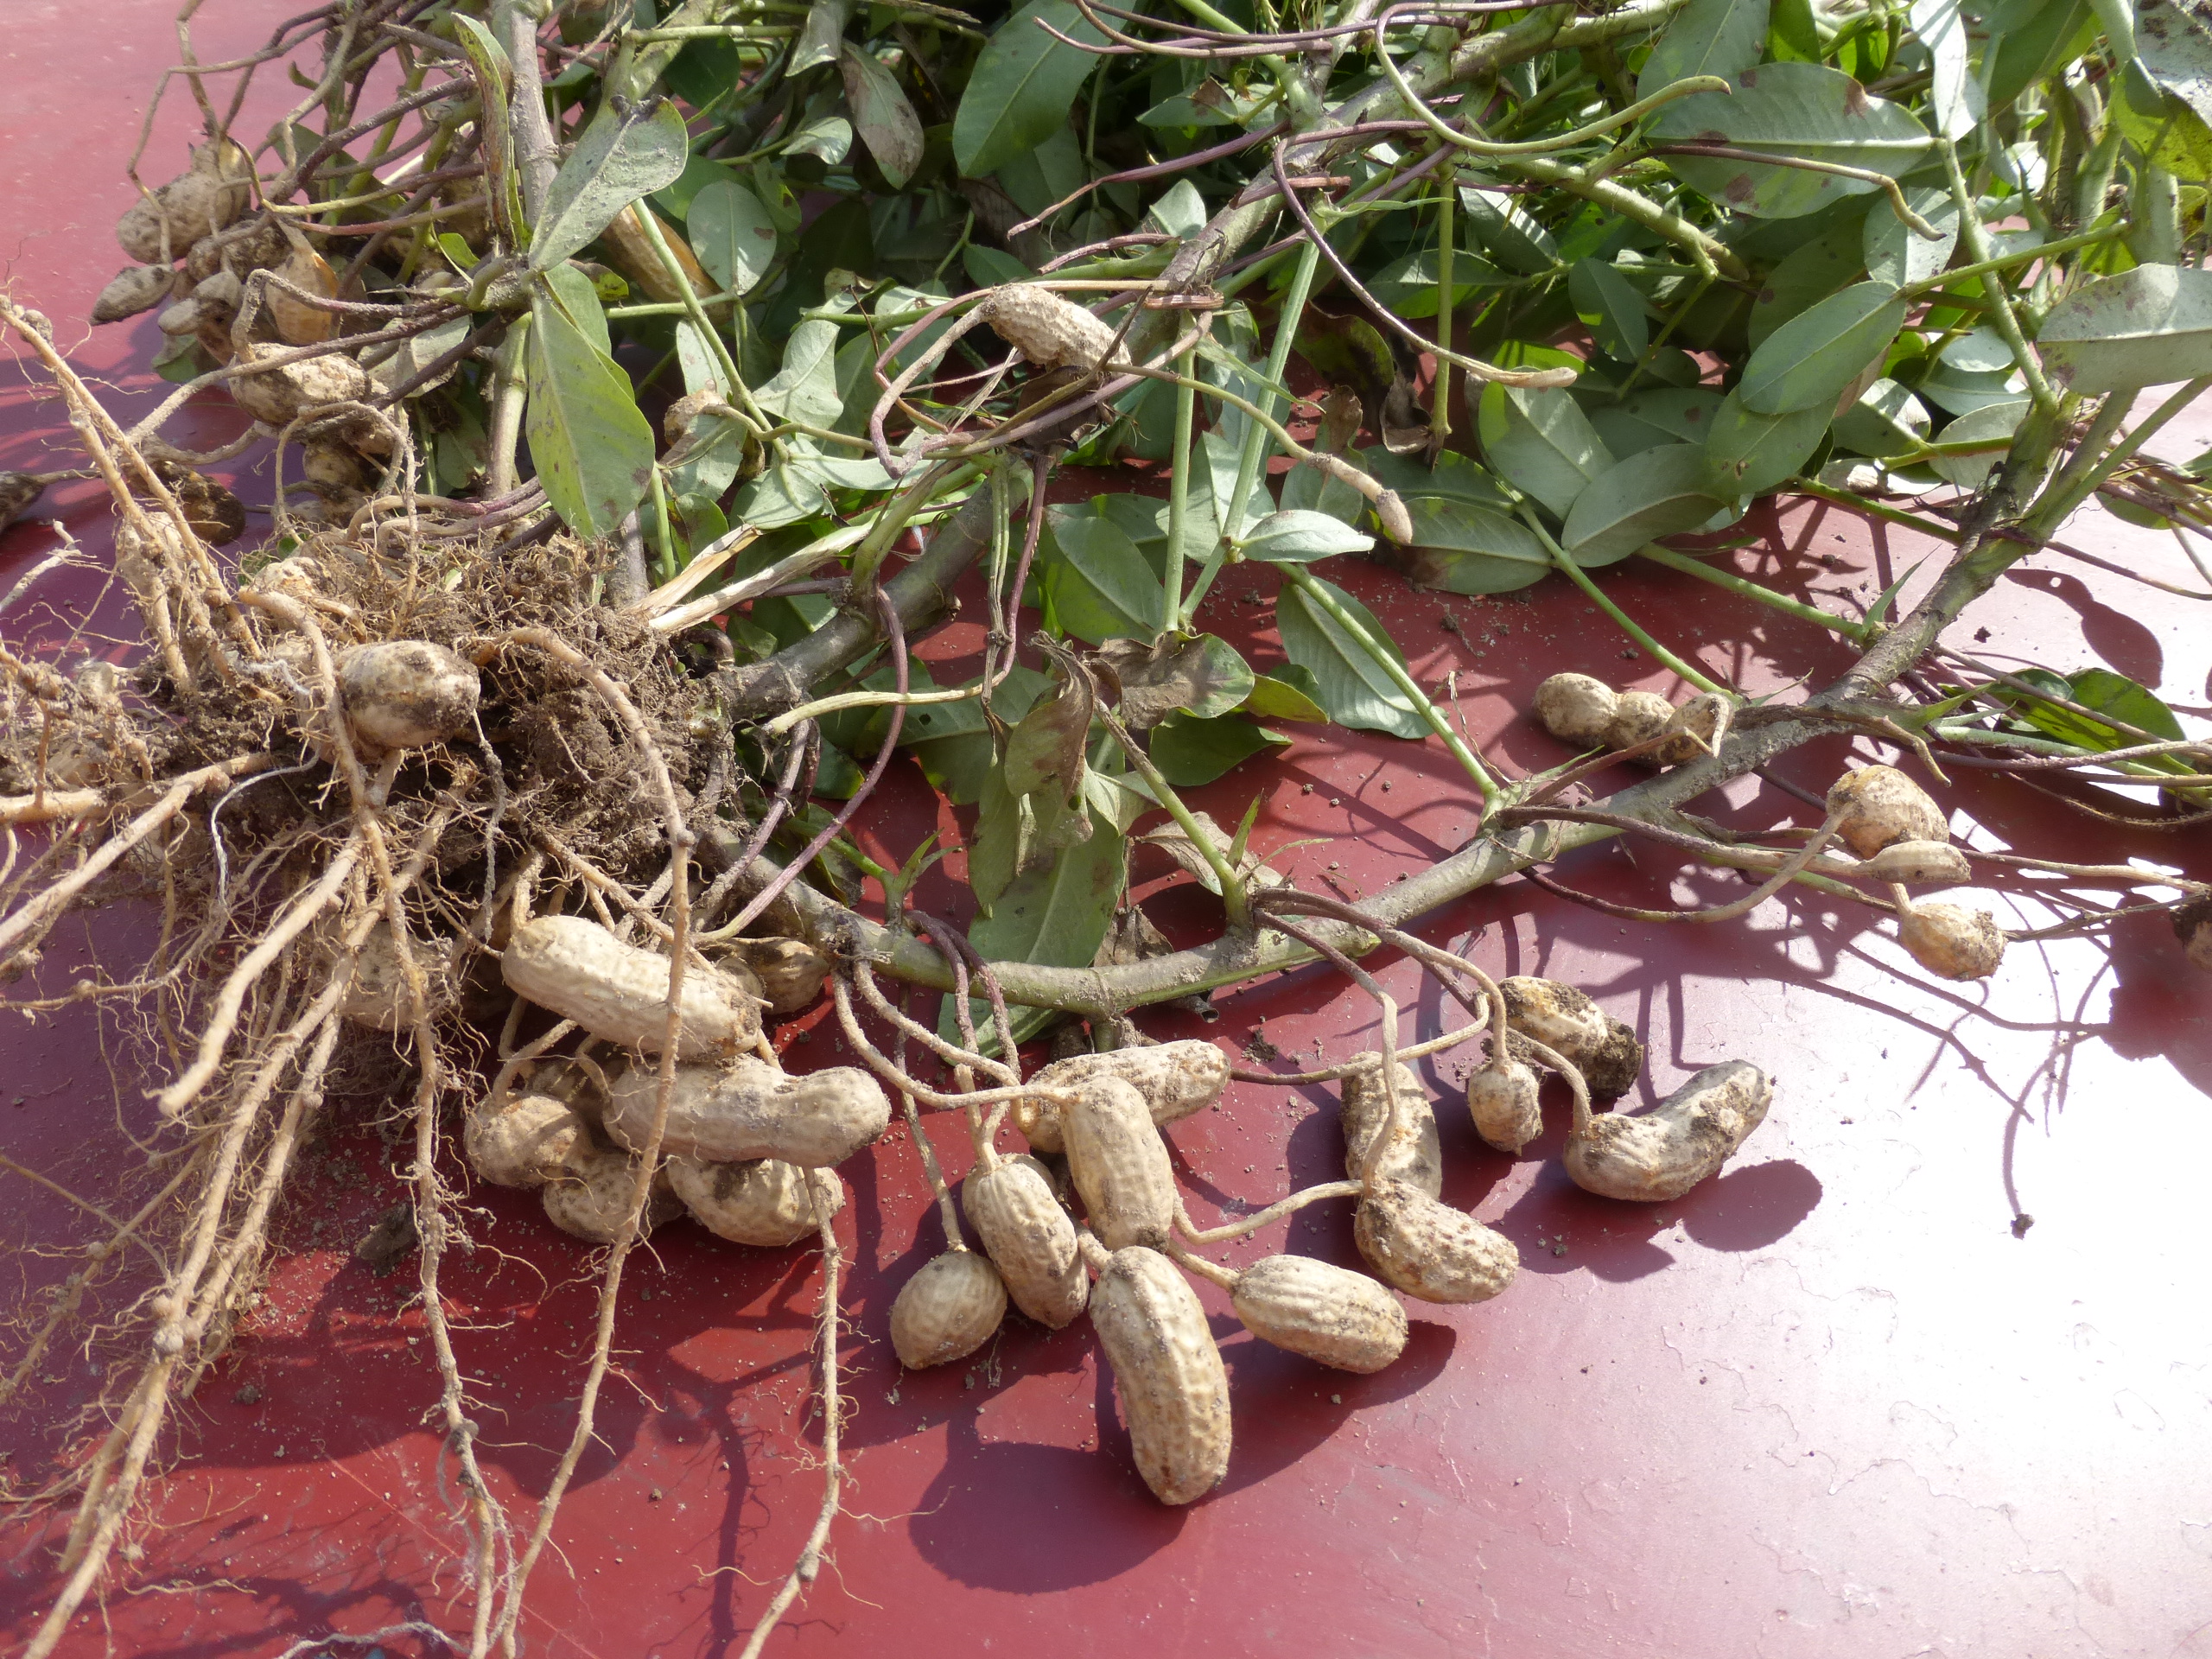
Finish planting and hill up peanuts at 12″ tall and mulch before they peg.
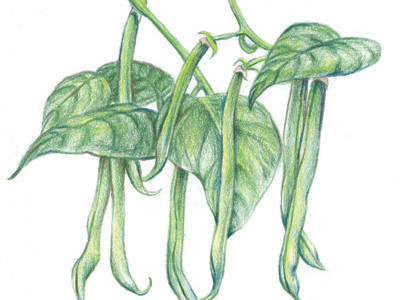
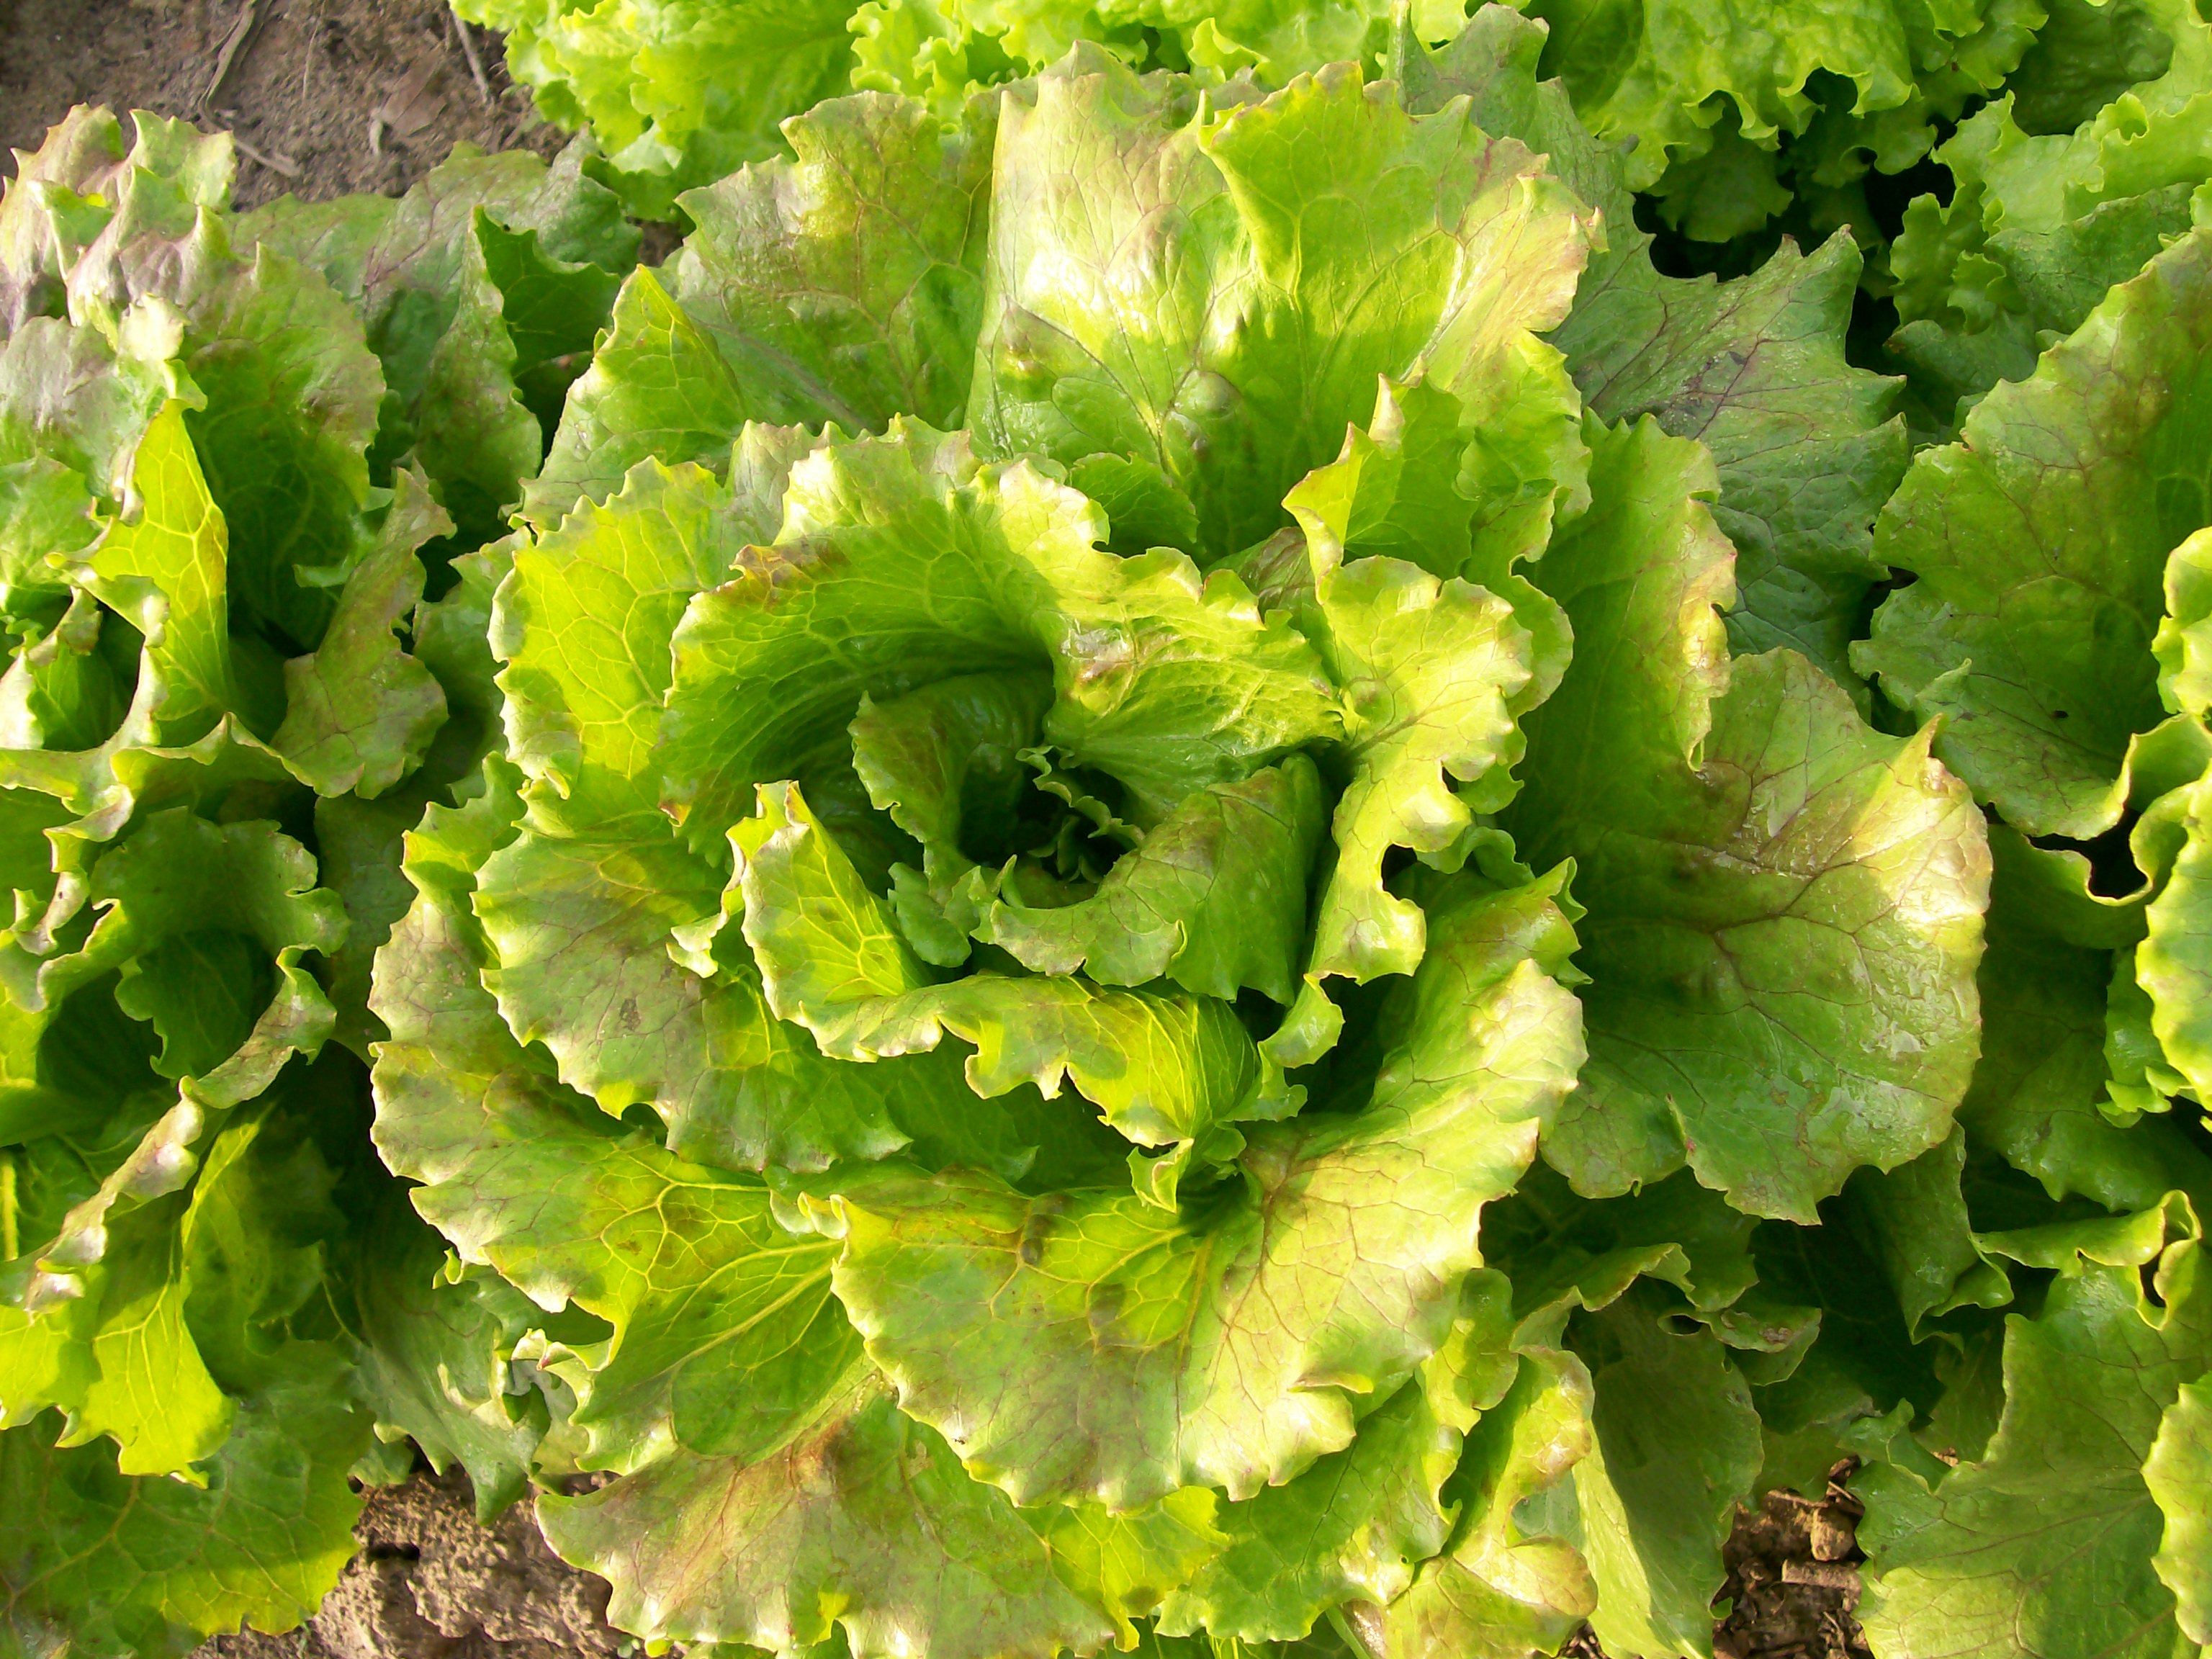
Continue to sow weekly successions of beans, corn, cucumbers, and summer squash. Begin sowing very heat resistant lettuces like Anuenue, Sierra, Jericho, and Slo-bolt every 7 days under shade cloth. Transplant to a spot with afternoon shade on an overcast day.
 Hand pick or use BT to control Colorado Potato Beetles as soon as the first larvae are spotted on early potatoes and again every 7-10 days. Transplant leeks. Mid June plant and mulch Fall potatoes while your onions and garlic are curing
With all of this planting it is important to feed your soil so that it can grow good healthy plants.
Compost is the best all around amendment for organic gardens. Making your own compost is one of the best things you can do for your garden, and it’s easy!
Pick a dry, shady spot near a source of water and near your garden. Compost is just three color-coded ingredients, plus some water now and then.
- Browns (for carbon) such as leaves, pine needles, straw or shredded paper.
- Greens (for nitrogen) such as kitchen scraps, coffee grounds and animal manures.
- Blacks (for beneficial organisms) such as soil, already finished compost, or worm castings. These speed up the composting process.
At garden centers and online you can find a wide assortment of manufactured compost bins as well as plans for making your own. These systems can make composting easier if you’re limited by disabilities or pesky neighborhood association rules.
Start your pile with a 3 or 4 inch layer of coarse material like old hay or straw or chopped corn stalks to help with aeration and drainage. Next comes add some kitchen and garden waste such as leaves, coffee grounds, crushed egg shells, etc. Then we add a layer nitrogen rich material like chicken manure or fresh grass clipping. I like to add a layer of blacks like soil, finished compost or worm castings after every other layer to add beneficial organisms that can speed up the process. This may not always be necessary because of the soil added on plant roots but I like to keep the pile “cooking†and get the compost finished quickly.
Water the pile after each layer and every few days to keep everything evenly moist but never soggy. The pile should have a slight indentation in the center to make sure water doesn’t run off. Your finished pile should be at least 3’x 3’ to generate enough heat for the 160 degrees needed to kill weed seeds during composting. Within a few days if your pile doesn’t feel significantly warm add more nitrogen rich materials or water to get it going.
Lack of air can also slow down your composting. If the pile smells like ammonia try adding more coarse material and turning the pile more often. Make sure that the materials on the outside are mixed into the center while turning. Good finished compost should looks and smells like good humus rich garden soil. The pile should decrease significantly in size and decompose. In 2 to 4 months your compost should be rich crumbly “brown gold†ready to use just in time “to nourish your later summer planting for Fall harvestâ€.
In the last week of June sow Brassicas for Fall (brocccoli, cauliflower, cabbage, savoys) 2 or 3 sowings a week apart under spun polyester row cover. Learn more about fall and winter gardening from Southern Exposure’s Ken Bezilla.
If you have time weed and mulch any crops that need it!

MINERAL, VA 6/6/11 4:38:12 PM
at Acorn Community Farm in Mineral, Virginia.
Sarah Rice