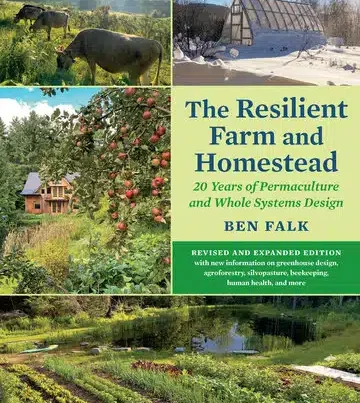
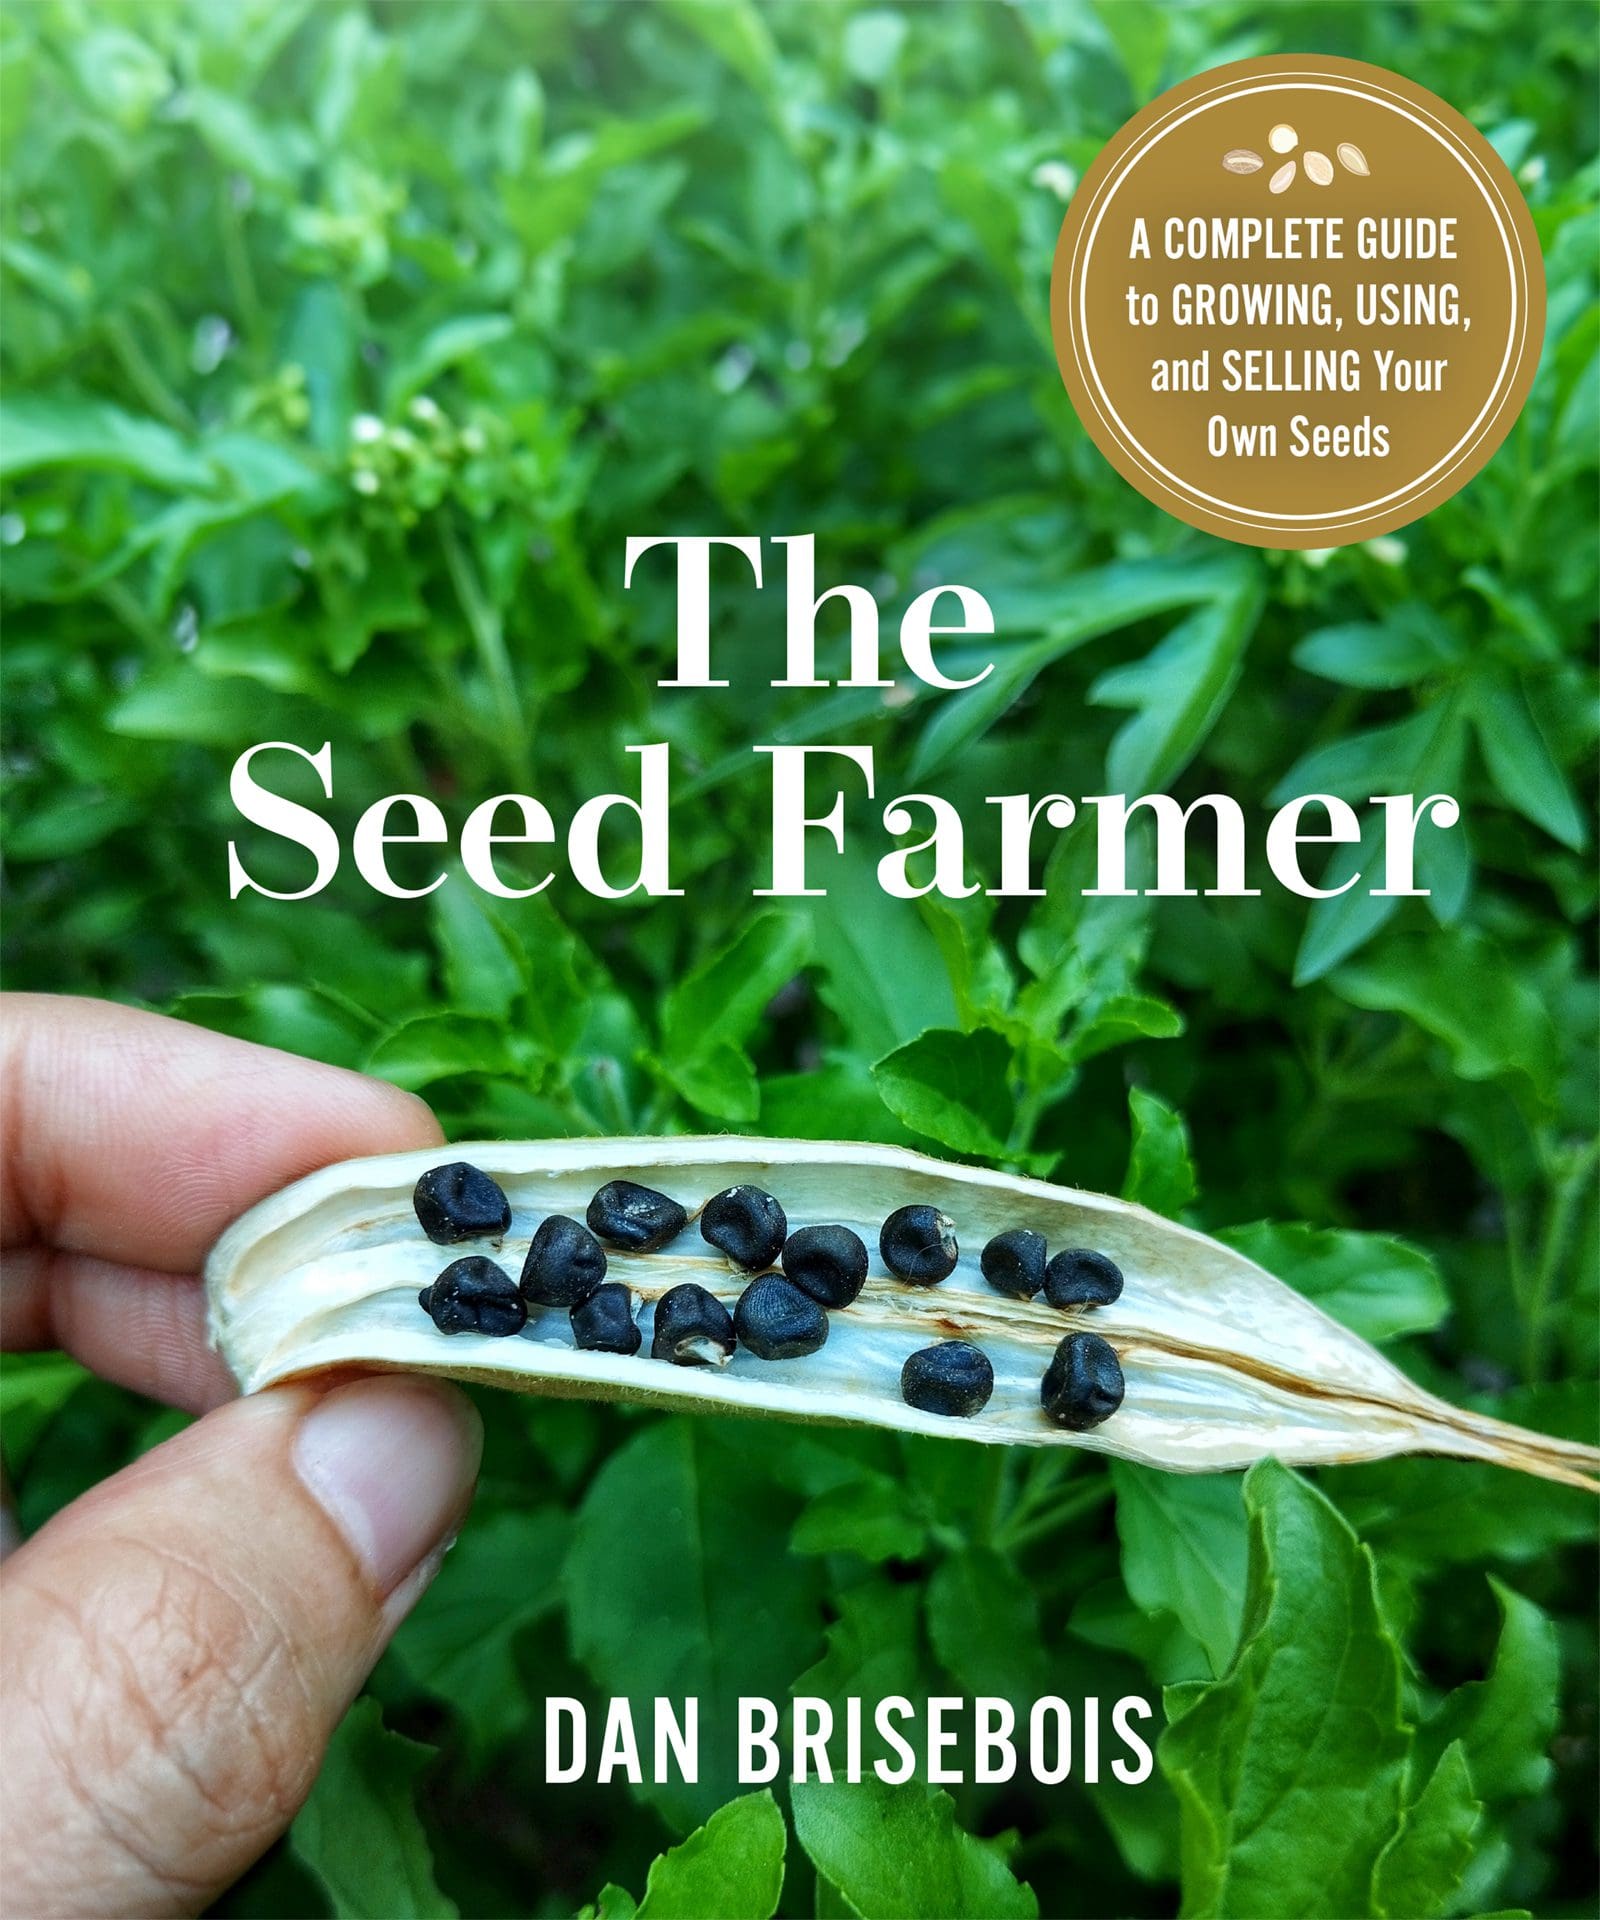
Book Review: The Seed Farmer: A Complete Guide to Growing, Using and Selling Your Own Seeds. Dan Brisebois. New Society Publishers, 2025, 214 pages, USD $39.99, CAD $44.99 paperback; USD $26.00, CAD $29.25 digital.
This excellent, well-organized book is a valuable new go-to resource for small-scale vegetable and flower farmers or gardeners planning to grow seed crops alongside produce crops. Whether you do this for your own use or to sell, The Seed Farmer will set you on a successful, sustainable and profitable path. The book also has many tips for experienced seed growers and is equally useful for home gardeners. You can become a larger part of the local food system, protecting yourself from seed supply chain disruptions and ensuring a supply of locally adapted seed within your own control.
This step-by-step manual explains everything clearly. Unlike most seed-growing books, The Seed Farmer helps you get up and running by advocating a simple start your first year, in what Dan calls a First Seed Mindset, growing one seed crop (or 2 or 3) for use on your farm the following year. There is no need to abandon growing food! Dan Brisebois explains how to choose a seed crop that fits in seamlessly with the rest of your growing. This approach makes getting started easy, with little cost in time or money, and no dire consequences if things go wrong. Dan’s writing style is friendly, accessible, compassionate, inspirational and – yes – joyful.
Dan provides help in choosing good seed varieties for your situation, and tips on which crops to leave for later in your career. He shares great hands-on experience growing, harvesting and processing many different crops. He explains the economics of seed growing, and reasons to scale up and sell seeds from your farm. He provides likely seed yields and sets out trustworthy sowing and planting schedules.
Dan’s earlier work on farm planning includes co-authoring Crop Planning for Organic Vegetable Growers. Dan is a founding member of Tourne-Sol co-operative farm, who run a seed business and supply 500 families with weekly CSA produce baskets. Dan writes and teaches well. He is skilled in guiding growers through the intricacies of the slower persistent rhythm of seed growing while not neglecting the weekly rhythm of vegetable production.
Once the First Seed Mindset and experience is acquired, you can progress to more seed crops. This book is one to read from the beginning. Walk, then run and skip!
Choosing Your First Seed Crop
Part 1 of the book gives enough information for growing your first seed crop, ignoring many of the complexities you can consider in the future. Just grow and harvest mature seed of one crop. Understand the limits of your knowledge in Year One: your seed may not be pure and is not saleable. Enjoy sowing it on your own land and seeing what grows.
In choosing your first seed crop, think about what grows easily and well on your farm, and study your seed order to learn which crops would benefit you most if you had your own seed supply. That might be the amount of money you’d save, or the realization that you could develop your own strain that would do better than the seed you are buying.
Self-pollinators (Selfers) are 95% or more pollinated by themselves and so make good First Seed Crops – you can ignore cross-pollination issues and questions of isolation until next year. Choose open-pollinated varieties, because these are stable and will grow predictable results. Beans, peas and lettuce are almost all OPs and make good first seed crops. Fruiting annuals are easiest of all. Just mark off part of the row and keep those fruits until well ripe.
Look at the species name and don’t cross two crops in the same species, or you will have 20-50% of plants with mixed genetics. OK for fun, but no good for market gardening. For crops that are harvested before flowering, neighbor plants don’t matter. Harvest the non-seed crop as a vegetable and let only the seed crop flower and set seed. There are plenty of reasons to avoid cross-pollination, and yet some growers like to grow crossed-up populations, known as landraces. Something from such mixes are likely to succeed regardless of that year’s weather.
Biennials require more steps. Either dedicate the bed to that same crop for two years, if the plants will survive the winter, or dig them up and store the roots for replanting the next spring. (This provides the chance to be selective in what you plant back out as your seedstock.) Growers in hot climates must ensure their overwintered crops get sufficient chilling hours (vernalization) to stimulate flowering.
Consider the rainfall and humidity in your region. Naked dry seeds (lettuce, chard, onions, carrots) are very susceptible to fungal diseases in humid climates. Protected dry seeds (peas, beans, corn) can do OK in some wet climates. Protected wet seeds grow in fruits (think tomatoes, squash, melons), and thrive in humid climates. Growing in a hoophouse or greenhouse can be a good method for crops that do better if drier than you get outdoors.
- Don’t choose squash for your First Seed Crop – there are many varieties in the same species, and you will most likely be growing some to sell at market or to your CSA.
- If you are growing more than one seed crop, make your second a salad green. Grow it alongside your market crop and harvest the leaves. Then let it go to seed.
- If you want a third seed crop, choose a cut flower you know will go to seed before the end of the season. Maybe calendula, amaranth, nigella or poppies.
- Growing one biennial (out of 3 seed crops) will teach you at a faster rate than leaving that challenge until next year. If you can overwinter kale or collards, those are fine biennials to choose.
- Dan recommends writing a First Seed Pledge to remind yourself that you are not trying to get everything right this year. Your goals are to grow the seed crop, harvest and roughly clean the seeds, dry and store them and plant the next year.
The Main Challenges in Growing Seed Crops
- The extra time seed crops need in the ground may complicate your plans.
- Having various patches of maturing seed crops around your farm can be aggravating.
- Bulky seed crops may trap moisture and grow fungi.
- Self-sown crop seeds may become next year’s weeds.
- Some seed work adds to the peak workload of the growing season: burnout!
Seed Crop Management Tips
- Trellis or tie up tall seed crops, to prevent toppling and sprawl. Use stakes and twine to pen the tall stems. Or Hortonova flower netting set horizontally.
- Plant seed crops at the ends of field blocks, not in the middle. Or plan some dedicated seed crop beds.
- Dig up annoying seed crops and replant them elsewhere. At this stage, crops transplant easily.
- Sow your seed crops alongside other long-season crops such as tomatoes, peppers, eggplant, squashes, melons, cucumbers, cut flowers, woody herbs, leeks, onions, celery, parsnips.
How to Reduce the Chance of the Crop Becoming a Weed
- Be careful what you grow after a seed crop – avoid close-spaced direct sown crops.
- Leave shattered seeds on the soil surface for 6-8 weeks to be eaten, or to germinate where you can hoe them off.
- Alternatively irrigate and tarp the bed to germinate and smother unwanted seeds.
How to Stay Balanced with Extra Seed Work
- Start small, as already recommended.
- Only do timely tasks in peak season. Bag and store dry seed heads, well labelled.
- From the beginning of the season, make sure the crew knows your seed crop plans and that your farm maps show where they will be growing.
- Create reminders, such as flagging tape in the field, and entries on your calendar schedule.
- If possible, get someone else to also keep an eye on these crops and alert you to problems.
- Scale up slowly and intentionally, focusing on past successes.
- If necessary, choose other farm tasks to phase out in the busiest period to keep growing seeds.
Your First Seed Harvest
- Learn what ready-to-harvest looks like and check regularly. Extract a few seeds and see if they resemble the seeds you sowed.
- Use simple techniques and standard kitchen tools to get your seed clean enough to replant.
- Test the germination at the appropriate temperature for that crop.
- Next growing season, plant a small trial, say 10% of your seeds, and 90% from your usual seed source. Label the plants clearly and make a map. If your seed fails, it won’t be a total loss. 10% is enough to see any consistent difference (improvement!).
- Evaluate how your seed performs compared to that from your regular supplier. Growth, appearance, days to maturity, disease-resistance, flavor, miscellaneous wow factors.
- If your seed doesn’t do great, consider possible reasons and adjust next year’s plan.
- If your seed does well, grow more next year! Say 30-50% of your total planting. The third year, after two successes, go up to 50-70%. In year 4, if you like, grow 100% of that crop from your own seed.
- As your successes build, learn about isolation distances and add in more seed crops.
Seed Crops that are a Good Fit for Your Farm.
Part 2 describes many possible seed crops, to help you plan your next steps. In this section are lots of useful color photos of steps in seed processing, including collecting and fermenting tomato seeds. Fermentation removes the jelly goop around the seeds, improves germination and controls some seed-borne diseases.
To get seed from fruiting vegetables, just grow the crop as usual, and harvest when the fruit is ripe. If growing seed for your own use, it won’t matter if your tomatoes get a bit crossed up. They are selfers and only 0-5% crossing happens if you grow different varieties very close. 200ft spacing is enough to prevent cross pollination in tomatoes.
Sweet peppers and hot peppers can cross if planted within 200-250ft of each other. This doesn’t affect the eating quality of the fruits, but the seeds contain the crossed genetic material. Next year you could have a row of “sweet peppers” concealing a wolf in sheep’s clothing – a plant with spicy fruit. Dan recommends acting as if all peppers can cross with each other.
For crops we eat immature: cucumbers, zucchini, okra, snap peas, it is necessary to ripen the fruits fully. Giant bloated yellow cucumbers, streaky gold eggplant. Cucumbers take an extra 6 weeks to mature seed. All varieties of cucumber happily cross if closer than 1000ft. Eggplant fruits take an extra month or so beyond eating-ripe to reach seed maturity. Eggplants need 500ft isolation distance.
Okra is easy, once the pods have dried down, about 6 weeks after setting. Break the pods and push out the seeds.
Beans and peas are selfers and are easy to grow to seed. But they may not be worthwhile seed crops, especially if you are also picking fresh beans or peas from the same plants for market, as this significantly reduces the yield. You need a lot of mature pods to supply enough seed, and beans take an extra 8 weeks to dry down after the edible stage (5-6 weeks for peas).
Squash is a tricky seed crop. It is a vigorous crosser, so your next generation can get very messed up, turning out stringy poor-tasting squash. Study the details of the 4 species and grow one variety of each species. Varieties of the same species need to be grown 1000-1500ft apart to avoid crossing.
Corn is a wind-pollinated crosser, and many rural landscapes include a lot of corn of many types, much of it GMO. You will need at least 1500ft isolation distance. (Popcorn alone does not accept pollen from other types of corn.) The ears take an extra 4-6 weeks to mature.
Cut Flower Seed Crops
Assume that all flowers are cross-pollinators and grow different varieties of the same species 300-500ft apart, or 1,200ft to be certain. Some flowers don’t cross much and can be closer together.
Leafy Greens
Lettuce is a good beginner leafy green. Lettuces barely cross, and nearly all are OPs. You can harvest leaves without interfering with seed production. From the start of bolting, seed development takes 2-3 months.
Brassica greens come in 3 main species: Brassica rapa, Brassica juncea and Eruca sativa (arugula). Separate the varieties within each species by 1000ft. Brassicas are all crossers, and if you grow varieties of the same species within 300ft of each other while flowering, you will get up to 50% crossing. This is fine for fun, but not for reliable marketing. As with other dry seed crops, screening and winnowing are needed to produce clean seed.
Spinach is not a good first seed crop, because it flowers at specific daylengths (13-15 hours), prefers cooler weather for pollination and is picky about moisture levels for seed production. If your weather is already hot by the time day-length reaches 13 hours, don’t grow spinach seed in spring – try over-wintering instead. Spinach is a wind-pollinated crosser, so keep varieties 1000ft apart. Spinach plants come in two types: pollen-producing and seed-producing. Both types are needed to grow seeds. Once you have a good seed set, you can remove the pollen-producing plants, giving the others more space. [How refreshing to have botanical descriptions rather than anthropomorphic genders!] Once the seed-bearing plants are browning or starting to drop seed, bring them into a dry area and lay them on a tarp to fully mature for a couple of weeks.
Collards and kale are biennial, so you can harvest their greens the first year and overwinter them to produce seeds the second year. They are easy first seed crops in climates where the plants survive outdoors through the winter. They need 10-12 weeks below 50F (10C) to start flowering. There are two species of kale: Brassica napus and Brassica oleracea. Collards are all B. oleracea. Isolate flowering varieties in the same species by 1000ft.
Root Crops and Similar
First develop an overwintering strategy. With root crops you can select the best from all you grow and sell the rest! Radishes are the easiest to start with. All radishes are crossers. Spring radishes can be replanted immediately after harvest and selection. Winter radishes are biennial and need 12 weeks below 40F (4C) to induce flowering. Easiest is to refrigerate them over the winter, then select the best for planting out.
Turnips and rutabagas are two distinct species. Turnips are Brassica rapa; rutabagas (and some kales) are B. napus. Canola may be either species. Isolate during flowering by 1,000ft from others in the same species. For these root crops, this takes 2-3 months in their second spring.
Onions for seed need to be grown in a hoophouse in wet climates. Bulb onions are crossers, so grow them 1,000ft from other Allium cepa. In the first year, growing onions for seed is the same as growing for bulbs. Store the bulbs overwinter at 32-40F (0-4C) for 8-10 weeks before replanting them. After a few weeks of growing leaves, they send up flower stalks. Stake the tall stems to prevent breakage. Once you can see black seeds in the dried flowerheads, cut the heads and spread them on a tarp. Mature for another 7-10 days before extracting the seeds.
Swiss chard crosses with beets, and financially, beet seeds have a bigger market than chard seeds. If you are in a beet-growing area (including sugar beet or forage beet), don’t try this as a seed crop. You need 2-3 miles isolation distance.
Carrots are only worthwhile if you don’t have Queen Anne’s Lace, a wild carrot that cross-pollinates tame ones. Carrots suffer from inbreeding depression sooner than many crops, so you need to have lots of seeding plants to maintain genetic diversity. Seed takes 3-4 months to develop and mature in the second year.
Improving Efficiency and Effectiveness
Part 3 covers improvements you can make to your seed work, after your first year, providing more confidence in the seeds you grow, enabling you to transition to selling seeds.
Set up a workplace (“Seed HQ”) that is well-lit, dry, spacious and well-ventilated. Design a seed-lot tracking system with an alpha-numerical code including the year and the source. Use the code at every step of production for each crop: growing, harvesting, drying, cleaning, storage. Painters’ tape makes a good secondary labeling system. Use markers that don’t fade in the sun! For storage, have a label inside the jar or bucket, and one on the outside.
For wet-seeded crops, cut the fruit open, scoop out the seeds and wash them repeatedly with water, pouring off the floating lighter stuff once the seed settles to the bottom. Usually good seed sinks and non-viable seed floats (but not for squash).
For harvesting dry seeds, Tourne-Sol workers use Zenport harvest sickles and pieces of landscape fabric (no intermediary bins). It’s usually most time-efficient to harvest the whole plant, rather than make multiple harvests from the same plants. Cutting the plants above the roots leaves the dirt in the field. Keep all the plants oriented in the same direction during harvest, to save time later. Most seeds will continue ripening while drying.
For dry-seeded crops, keep them dry! Wear a dust mask to avoid clogging your lungs. For small amounts, the pods can be opened by hand. Some plants can be knocked with a stick to release seeds. Others need to be stomped on (with clean boots). Gather the compost material off the top and pour or scoop the seedy material into a bin for threshing and winnowing (or screening).
Use the Pareto Principle: for many outcomes, roughly 80% of results come from 20% of effort. Don’t try to save every last seed. It becomes much less efficient to persist. To winnow, set up a tarp, a row of three rectangular bins and a box fan at a convenient height. Pour the seed slowly in front of the fan and it will fall according to density. The bins further from the fan can be winnowed again to get cleaner seed.
For screening, gather sieves, strainers and homemade screens. Use one to screen out the stuff bigger than the seeds, then one to screen out the material smaller than the seeds and retain the seeds. If you choose to grow lots of seeds for sale, there are specialized tools and equipment you can consider buying.
Freezing seeds, once thoroughly dry, kills insect eggs. After a week, take the container from the freezer and leave it warming to ambient temperature. Only then, open it and remove a sample for a germination test. There are good details in the book.
Becoming a Seed Steward
Cherish the seed crops you work with, to pass on to other growers. You can adapt crops to your bioregion. You can steer a variety towards more desirable traits – smooth shape, large size or bigger total yield, better color, earlier harvest, more disease resistance. Grow enough plants to maintain genetic diversity. If a bad thing happens, select the plants that do best after the adversity.
Start by paying attention to which transplants you choose and which you discard, or which seedlings you hoe out and which you leave to grow. Pull up plants that are too far from your desired traits. Each time you visit the crop, flag the plants that impress you most. If it is a fruiting crop, write something on the fruit to discourage yourself and others from harvesting it for market or dinner.
Improve Your Crop Planning
If you grow multiple seed crops, you will need careful planning of locations and timing for best success. Dan is a spreadsheet wizard (www.spreadhseetacademy.com). The book has instructions and spreadsheets for each planning step.
- Start with the seed sales you hope to make (or the seed buying expense you hope to avoid). For each seed crop, add together the amount for farm use, the amount you can sell in packets and the amount you have a bulk seed contract for. Estimate the monetary value to get an idea of what you will earn if everything goes according to plan. Only grow seed crops that can provide your needed revenue per area! If your calculations show that a particular seed crop won’t be financially worthwhile, try negotiating a higher contract price, increasing the yield, or harvesting some of your seed crop for market without sacrificing seed yield. (Picking leaves from greens, for example.)
- Work backwards from the harvest you need to how many plants you’ll need to grow. Be sure the amount you are growing is enough to avoid in-breeding depression. Be sure you include a safety factor of around 30% in case something goes wrong. Many seeds can be kept for more than one year if stored in a freezer once dry. Growing too much can cause overwork with seeds that are slow to clean.
- Decide what crop spacing to use, and calculate total space needed.
- Decide where to grow them. Consider the layout of your growing spaces and the isolation you can achieve. Crossers need to be at least 1,000ft apart; selfers 300ft. Make sure you aren’t planning 2 crops from the same species closer than the isolation distance, including not just seed crops, but any market crop that reaches flowering. Crop rotation needs to be considered too. If most of your crops are for market, with just a few seed crops, integrate your seed crops into your market crop plan. The seed crops will likely be in the ground longer than the market crops, so cluster them to allow for optimal cover cropping following the market crops. If you are growing many seed crops, create a rotation around those.
- Decide when to plant: allow enough time for the crop to mature its seeds – study the book. Work back from the harvest date to the transplant date (if transplanted), then the sowing date. Be sure you have the capacity to do all of each week’s tasks.
- For sowing, add a 30% seeding safety factor and a 30% field plan safety factor. Transplanted crops additionally need a pot-up safety factor (10%). Round up to a whole number of trays. To calculate your seed order, add another 30% seed order safety factor to make sure you have enough seed on hand, even if some get sown a bit thickly.
The last chapter covers selling seeds in bulk or packets. The appendix holds a glossary, more resources, and a seed reference chart.
In learning to grow seeds, you will get better at observing plants, determining what features could be improved and extracting a clean seed crop.