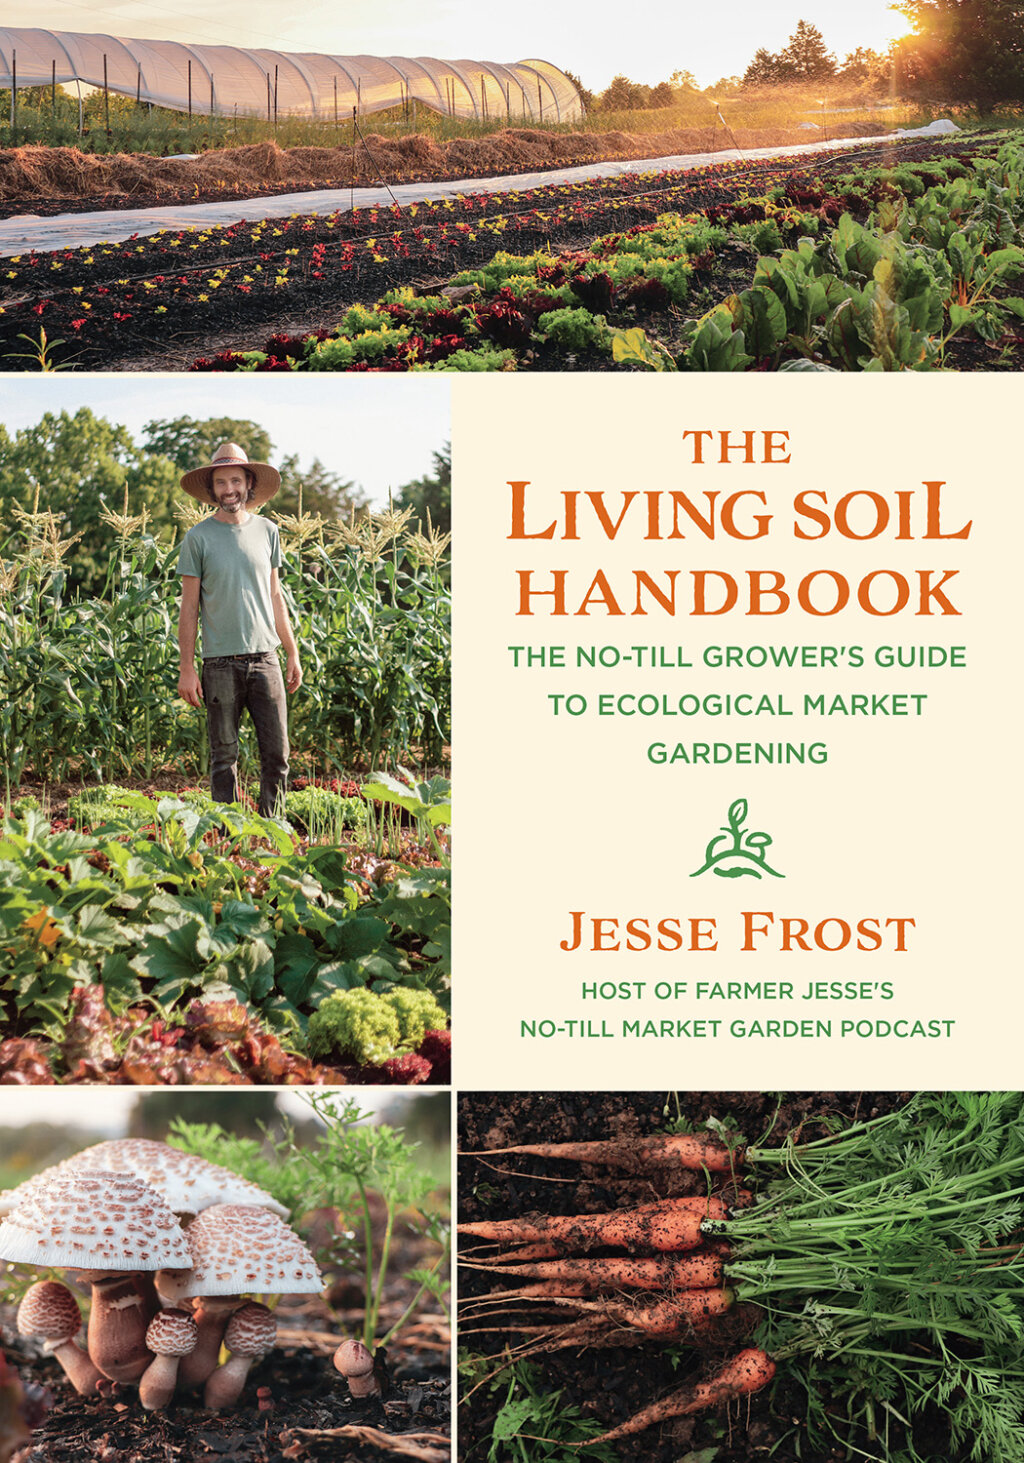
Book Review: The Living Soil Handbook: The No-Till Grower’s Guide to Ecological Market Gardening, by Jesse Frost, Chelsea Green Publishers, July 2021. 304 pages, $29.95.
Book Review by Pam Dawling
Jesse Frost, the host of Farmer Jesse’s No-Till Market Garden Podcast, has now made a lovely how-to and why-to book for us. No longer do we need to imagine the pictures while listening to the podcasts! The book is generously illustrated with color photos, charts, and diagrams and also hand drawings by Jesse’s wife Hannah Crabtree. The text and photos make plain the experience behind the suggestions. A glance at the bibliography shows how deeply Jesse educated himself on soil biology, chemistry and physics – it’s a list of detailed articles, not a list of books. I was interviewed by Jesse’s collaborator Josh Sattin for Farmer Jesse’s podcast, in November 2019.
Jesse and Hannah farm at Rough Draft Farmstead in central Kentucky, winter hardiness zone 6b with 55” (140 cm) of annual rain on average. While writing the book, Hannah and Jesse moved farms, gaining road frontage for on-farm sales!
The book revolves on three basic principles of professional no-till market gardening: disturbing the soil as little as possible, keeping soil covered as much as possible, and keeping it planted as much as possible. The phrase “as possible” in each of the three principles remind us to be reasonable, and aware of the context. No-dogma is as important as no-soil-disturbance. Sometimes a short-term soil disturbance will ultimately create a healthier soil: you might need to incorporate compost or amendments, or break up compaction. We are not feeding the plants. Nor the soil. We are farming the micro-livestock.
Appendices include notes on cover crops (when to sow, what to pair each cover crop with and how to terminate it); valuable material on critical periods of competition (for weeds or interplanting); resources and chapter notes from world-wide sources.
The topics have been carefully teased apart and the chapters are digestible by busy farmers during the growing season. No need to wait until winter! There are things you can do in midseason to head in the direction of less tilling and more soil-nurturing.
The first section, “Disturb as Little as Possible” includes a fine primer on the science of living soil. (Now you can explain photosynthesis to an inquisitive child.) Don’t skip over this basic soil science. Understanding is the key to good stewardship. The carbon cycle includes plants absorbing carbon dioxide, making root exudates that stream out into the soil, where they feed microbes, which respire most of it back into the air. The plants are not sequestering carbon, as we might wistfully hope in these days of an overheating planet. They are cycling it. It is true that some of the carbon that plants pass into the soil does remain there, in the tissue and exoskeletons of dead organisms, especially when there is no tillage. Some carbon converts to a stable form holding soil particles together.
Most growers probably know that frequent rototilling damages the soil (especially at the same depth every time, or when the soil is too wet or too dry). Soil care can include disturbance of various human kinds. Silage tarps can cause compaction when they gather rain, snow or ice, and stay in place a long time. Microplastic particles can crumble off old tarps into the soil, where they can be eaten up by the microfauna. Polyethylene can prevent beneficial gas exchange between the soil and the air. The soil life also “disturbs” the soil, churning it. Be guided by your observations of your soil, not by a particular belief in a certain method.
The chapter on breaking new ground describes several ways to make a no-till garden from a lawn, pasture or old garden. Deal with any soil compaction up front, either mechanically, or with an extra growing season and big-rooted plants.
Start with the no-till methods Jesse and Hannah use most often. “Shallow compost mulching” involves keeping a 4” (10 cm) layer (not deeper) on bed surfaces year-round, topping up as needed. With a 4” layer, the roots can reach the soil quite soon. Their second preferred method is grown-in-place mulch. Terminate a thick stand of cover crop and plant into the mulch as soon as it has wilted down.
If you don’t need to till before starting your vegetables, you can mow at soil level, and cover with a tarp for two summer months or 3-5 winter months. If you are mowing in the fall, you could spread cardboard and compost to form the beds, then tarp everything until spring.
Silage tarps and plastic mulches can be particularly helpful during transition, to salvage beds when things go wrong, or as emergency tools when a mulch supply line collapses.
The second section, “Keep it Covered as Much as Possible”, discusses compost, mulch, cover crops, flipping beds (transitioning from one crop to the next) and path management.
Composts come in four types (recipes included):
- Inoculating composts are expensive, fine textured and biologically active. Vermicast (worm manure) is one example. Good for compost tea.
- Fertilizing composts such as composted poultry manure are fine textured nitrogen sources to use before planting.
- Nutritional composts supply organic matter, microbiology, nutrients, minerals, and ample amounts of carbonaceous material. They can be used in larger amounts.
- Mulching composts are high in carbon, maybe 20 C:1 N, and relatively low in nutrients.
Mulching retains moisture, prevents compaction, reduces weeds, provides habitat, provides foods for some creatures, and reduces the impact of heavy rain or heavy feet. Straw can be expensive. Hay gives better weed suppression, but may itself be a source of weed seed. Spoiled hay has fewer live seeds, comes at a better price, and is messier to spread. Hay is more nutritious for the soil than straw. You could solarize your hay bales for 3-8 weeks before spreading, to kill seeds.
Paper and cardboard give excellent occultation compared to loose straw and hay, and provide an effective mulch with less depth (easier for transplanting into).
Wood chips, sawdust and bark mulch can sometimes be free, from workers clearing under power lines. Tree leaves and leaf mold are nutritious materials for mulch or in compost. Cover crops may be mowed or crimped to kill them, usually leaving them in place as a newly-dead mulch.
Peat moss is controversial. Peat bogs are very effective carbon sequestering habitats, and based on this, we should not use peat without restoring the bogs. Coconut coir is sometimes used as an alternative to peat moss, but we are mining the thin tropical soils when we import it.
Plastic mulches stop weeds, warm the soil, and conserve moisture. Landscape fabric is durable, and some growers burn holes for transplanting certain crops, and reuse it many times. Organic regulations require plastic mulch to be taken up at the end of the growing season, and they do not accept biodegradable plastic mulches.
Chapter Five is about flipping beds (replacing one crop with the next). Chopping plants off at the surface and/or tarping are two main no-till methods.
Jesse provides a valuable table of no-till crop termination methods for 48 vegetables and herbs. Whenever possible, leave the crop roots in the soil. Some can be cut at the surface (lettuce, baby greens, cucurbits and nightshades), some need to be cut slightly below the surface (brassicas, beans, corn, spinach and chard) and most others are harvested as root crops. Roots are a valuable source of carbon and root exudates, and help air and water pass through the soil.
Flail mowers, weed whackers (with a bush blade rather than a nylon line), scythes, hoes and knives can all be used to cut down old crops, depending on the particulars. When a crop is terrminated, deal with soil compaction if needed, amend the soil, keep it damp, get mulch in place, and replant the same day if you can, to help preserve microbes. If the previous crop was a cover crop, your fertility is supplied by that, and no more amendments are likely needed.
Tarping (introduced into English by Jean-Martin Fortier as “occultation”) is an effective no-till method. Silage tarps can kill crop residues, warm the soil and germinate weed seeds, which then die in the dark. Prepare an area by mowing it close – it is important that the tarp is in close contact with the soil, to break the plant matter down quickly. Tarps need to be well battened down. Jesse tells us that 2600 square feet (242 m2) is about as big a piece as any one person will want to move. Say, a 25 x 100ft (8 x 30 m) piece.
Leave tarps in place for two summer weeks, 3-4 weeks in spring and fall, and two months or more in winter. Avoid PVC tarps (contain endocrine-disrupting phthalates), be wary of polyethylene (may contain phthalates), but woven landscape fabrics are made from polypropylene, which does not contain phthalates.
Solarizing is a similar technique using clear plastic to heat the soil, kill weed seeds, disease organisms and crop residues. Bryan O’Hara in No-Till Intensive Vegetable Culture has popularized using old hoophouse plastic. Solarizing can produce temperatures of 125˚F (50˚C) compared with 110˚F (43˚C) under tarps. You may need only 1-3 sunny days to kill crop residues with solarization. Cover crops take about 7 days. The heat will not go deep in that time: more of the soil life will survive than with tarping. Good edge securing is vital for success.
The necessary (but less profitable) task of path management is next. The goal is to make pathways do work, retaining moisture, housing microbes, and generally contributing to a healthy environment. The first priority is to get rid of weeds.
Wood chips and sawdust can perform well as path mulches. Sawdust mats down into an effective weed-preventing layer, and 2” (5 cm) is often enough. Get sawdust in place ahead of leafy greens, so that it doesn’t blow into the crop.
Living pathways sound wonderful, but can be very challenging, and it’s best to start with a small trial. Choose a non-spreading grass or a mix of clovers, grasses and herbs. Mow every week until the path plants stop growing.
Another option is to grow cover crops in the paths, mow-kill or winter-kill them and leave the mulch in place. Timing is critical. The crop needs to be planted and harvested either before the cover cop grows very tall or after it is dead.
Section three, “Keep it Planted as Much as Possible” has three chapters: fertility management, transplanting and interplanting, and a gallery of no-till crops, pulling together various materials and methods.
Test soil organic matter each year. Jesse points out that although organic matter is largely dead organic materials, a truly living soil must contain a fair amount of it! 5-10% OM is a healthy percentage; more is not better. OM above 12% can cause water retention problems and poor aggregation. Seedlings can struggle to germinate and establish.
You can improve soil performance with compost, mulches, cover crops, gypsum for clay soils, and cultivated indigenous microorganisms (as in Korean Natural Farming). Use good inoculating compost or compost tea in the root zone. Microbes aggregate the soil into various sizes of crumbs, improving the soil structure.
Be careful using perennial cover crops as living mulch around cash crops – the yield is almost always reduced, and sometimes the quality is compromised too.
If you are running a compact commercial market garden, growing cover crops may be out of the question, and you will rely on outside inputs. With a slightly bigger plot you can grow cover crops before long-season food crops, and use outside inputs for intensive short-term crops. Larger farms may find cover cropping more efficient than large-scale mulching. Winter-kill, classically with oats and spring peas sown in late summer, will provide a light mulch for early spring crops.
Cover crops can be terminated by crimping at the milk stage and tarping. Jesse shows a crimping tool made from a bed-width board with a foot-sized metal hoop at each end and a string or rod as a handle. This is a variation on the T-post tool advocated by Daniel Mays in The No-Till Organic Vegetable Farm.
Crimping and tarping gives more flexibility on timing than does crimping alone. Crimping and solarizing can be even quicker. Crimping or mowing, then topping with cardboard and mulch compost is another method, if you have sufficient supplies. Plant a shallow-rooted crop in the compost layer, don’t bust through the cardboard unless you have let the cover crop die for a few days before covering.
For side-dressing long-season crops, Jesse uses the EarthWay seeder with the pea plate. This never occurred to me! Another surprise suggestion was to use silage tarps white side up, to germinate carrots in the summer! Check daily, and remove the tarp late in the day to save the tender seedlings from frying in the mid-day sun.
Interplanting is best approached cautiously, with small trials and good notetaking. Interplanting can cause lower yields and poorer plant health when combinations and timing are wrong. Measure yields and weigh the costs and benefits. Popping lettuces into random lettuce-sized gaps rarely goes wrong, and you might keep a tray of lettuce transplants handy at all times.
Peppers take 60-70 days before bringing in any money. If you plant an understory of lettuce, you can generate income much sooner, and the lettuce will be gone before the peppers need the space. Growing two crops together reduces the impact of a crop failure, and makes unprofitable crops more worthwhile.
Read about the critical period of weed control, when crops are most affected by competition from weeds, sister seedlings or an intercrop. Like other good mentors, Jesse is quite open about his mistakes. Don’t confuse tall plants with healthy high-yielding plants! They may be striving for better light. Seedlings suffer more than transplants from being out-shaded. Transplants are past perhaps half of their critical weed-free period before you even set them out.
Relay cropping is a method of adding in another crop after the first is established but before it is harvested. A sure-fire way of keeping living roots in the ground! With careful planning you can sometimes run a multi-crop relay sequence.
To implant these ideas firmly in our minds, Jesse discusses seven example crops, including varieties, seed quantities, bed prep, weed control, seeder, spacing, pest control, harvest, yield, intercrops, marketing, tips, and notable failures (no need to make the same mistakes!). The examples (carrots, arugula, garlic, lettuce, sweet potatoes, beets, and cherry tomatoes) can be extrapolated for almost anything else. I took notes: there’s always good tips to be learned from other growers. Buy the book, you’ll quickly save the price! And more of your growing can succeed!
I originally wrote this review for the upcoming June/July 2021 issue of Growing for Market magazine.