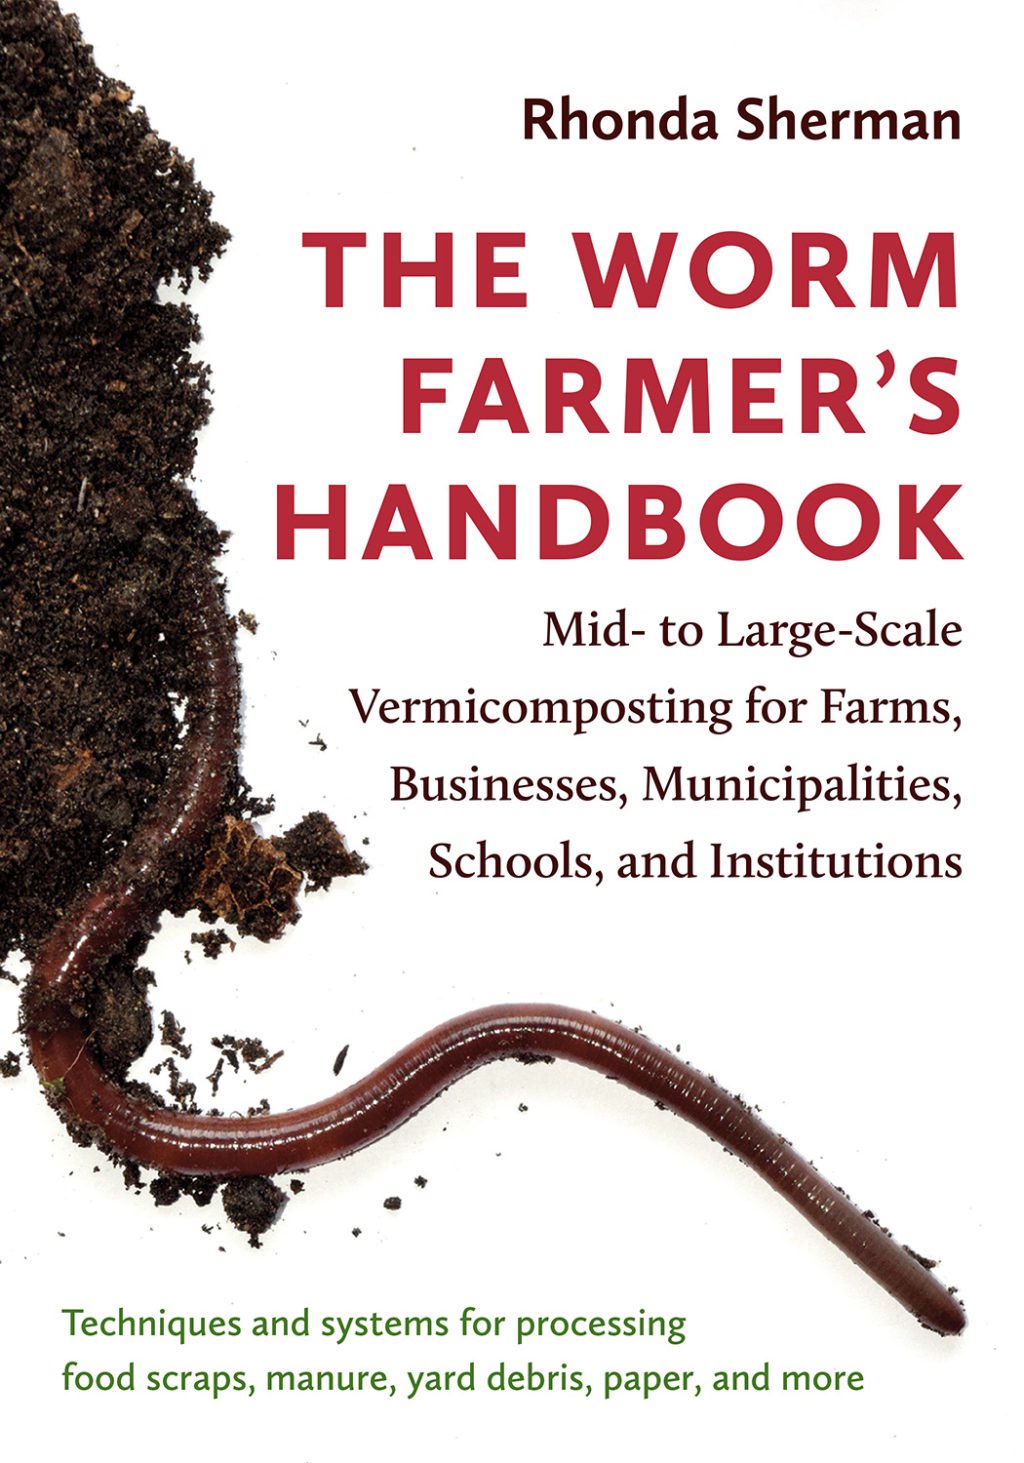
Rhonda Sherman: The Worm Farmer’s Handbook: Mid- to Large-Scale Vermicomposting for Farms, Businesses, Municipalities, Schools and Institutions
Chelsea Green, 2018, 247 pages, $29.95
By Pam Dawling
The Worm Farmer’s Handbook is exactly that. It explains very clearly how to farm worms on food scraps, manure, yard waste, paper and more. It goes beyond the “tub under the kitchen counter” scale of worm bin, upwards to commercial farming and community-scale enterprises. Rhonda Sherman is an excellent writer, inspiring, concise, personable, candid and very down-to-earth. Art and science. Detail without fluff. For beginners and upgraders.
The book includes the many reasons you might venture into vermiculture (worm production) or vermicomposting (worm cast production); earthworm biology; business plans; equipment set-ups; bedding and stocking rates; feeds and feeding methods; monitoring for success; harvest and post-harvest practices; and over two dozen global case studies, including some in places I bet you didn’t think of: Turkey, Afghanistan, and an air force base in Ohio. Some highly successful business people got some of their boost from worm farming.
Rhonda Sherman started as a recycling consultant, producing a much-scorned-at-the-time factsheet Worms Can Recycle Your Garbage, which became immensely popular. Answering the demand, she created the annual NC State Vermiculture Conference, the only one of its kind in the world. In 2000 she established the NC State Compost Learning Lab, with 26 kinds of composting and vermicomposting bins and space for hands-on teaching. So, she has full credentials to tell us about how to produce vermicast for profit or manage waste produced on farms and gardens, in municipalities, industries and institutions.
First, to clarify the terminology: vermiculture is the raising of worms for bait or animal feed or for selling to other worm farmers; vermicomposting is the conversion of organic wastes into worm castings (vermicast), a nutrient-rich, microbially active soil amendment or growth medium for young plants. The word vermicompost is sometimes used to refer to a mixture of castings, uneaten bedding and feedstock (organic material). To avoid confusion between compost (a thermophilic aerobic process) and vermicompost (a warm-not-hot mesophilic process involving the material passing through earthworms), Rhonda uses the word vermicast.
Nowadays the main reason for worm farming is to process organic wastes and use the vermicast to grow stronger, more nutrient-dense food crops or marijuana. It is possible to keep costs low, even fairly large-scale, by manufacturing your own worm bins and by screening the vermicast manually, or with a small motorized sifter. Additional income can come from selling vermicast tea and teaching classes.
Vermicast sells at a much higher price than regular compost, 7-60 times more! The microbial populations in vermicast are much larger and more diverse than those in thermophilic compost. Seeds germinate more quickly in vermicast-amended soil, the seedlings grow faster, the root mass is much bigger, leading to earlier, bigger yields. Strangely, and proven scientifically, all these improvements are independent of the nutrients available to the plants. The turnip photo is astounding. Crops with vermicast-amended soil have greater resistance to insect pests, because the vermicast adds phenolic compounds to the plants, making them distasteful to bugs (but apparently not to humans!). Plant parasitic nematodes (such as the root knot nematode Meloidogyne hapla) can also be suppressed.
The earthworm biology chapter is fascinating. Rhonda opens by saying “I don’t want to put you to sleep with a long-winded discussion of the anatomy and physiology of earthworms.” No danger of that. This is concise, technical and yet easy reading. Who knew there are species of earthworms that reach lengths of 3ft (91 cm), 4ft (1.2 m), 4.5ft (1.4 m), 6ft (1.8 m), 13ft (4 m) and an eye-watering 22ft (6.7 m). Only the smallest two of those are in the US, and no, not in Virginia! Some earthworms don’t live underground in the soil – the epigeic group live in the leaf litter. Seven species of worms are suitable for vermicomposting, and Eisenia fetida, the red wiggler, is by far the most widely used.
To start a worm bin, buy at least 1lb (0.5 kg) of these worms per square foot (0.09 m2) of surface area. That’s much denser than I imagined. And don’t go to the bait shop, because you’d have to buy dozens of packages for every pound of worms, throw out all the containers, and pay $122-$225. From a reputable worm grower you will pay $20-50 per pound, perhaps with added shipping.
Rhonda walks us through all the necessary steps of preparing to farm worms. Study the state and local regulations, and the safety issues, and make a business plan before buying worms, except perhaps for a small pilot scheme. Don’t expand before you know how you will make it work. Production and marketing are equally vital. Will your state regard this as a composting process (lots of regulations) or a livestock farming enterprise? Plan to avoid the problems and have contingency plans in case they happen anyway.
In designing your physical set-up, there are options from small outdoor pits or bins to continuous flow-through bins. Buy or build your own, after studying the pros and cons. Look for suitable readymade containers at a good price, such as Macrobins and IBC totes used for vegetable and other storage and transport. Source your feedstocks and decide if it would be best to pre-compost them before offering to your worms – often wise if dealing with large deliveries of food waste, to reduce volume and pest problems. This book helps with information on the space you’ll need for all stages of the process. Plan ahead. Imagine yourself 10, 20 years older when delivering feedstock, monitoring your livestock and emptying your bins. Don’t build things too wide, tall or heavy. Leave access space all around your bins (unless very narrow). Imagine more climate change.
Don’t geek out too much on the equipment though – remember you are farming livestock and will need to prioritize learning their ways. You need a 6″ (15 cm) layer of moist bedding, a layer of worms at a sufficient density for the container, a thin 1-1.5″ (2.5-3.8 cm) layer of feedstock and a covering layer, so the worms can eat without being exposed to the light. Enough air and water, light to prevent them crawling away. Wait till they’ve eaten all you’ve provided before adding more food, or you will get fruit flies, gnats, flies, ants etc. Rhonda advises on various feedstocks. Check at least once a day, to make sure your worms are healthy, thriving and mot crawling out of your bin. As needed each day, water the top of the bin, using a mist or light fine spray.
Worm farming can fit with other types of farming with good results. Livestock manure (except poultry manure) is a good feedstock for worms. You can experiment with adding some worms to a composting toilet. Vegetable, fruit and flower crops can provide crop residues; food processing has what would otherwise be waste; shredded paper is good (the ink on printed paper is not toxic nowadays, but avoid glossy paper and fancy papers with metallic additions).
A worm bin is not a trash disposal – you need to find a recipe that combines your ingredients in the right proportions to provide a balance of nutrients. The ideal starting ratio is 25 carbon:1 nitrogen, and a helpful list is in the book. You can use an online compost calculator to roughly determine an appropriate mix. Pre-composting is a good way to turn your materials into a homogenous substance the worms will thrive on. This avoids the problem described by Rhonda as “the worms beeline for the melons and stay away from the onions.” Rhonda provides ten reasons for pre-composting.
Earthworm husbandry is central to worm farming. Inspect daily with eyes and nose, and squeeze a handful of bedding to test for moisture. Never pour water directly into the bin “even if you have seen people do it on YouTube!” as Rhonda cautions. Once a week count population samples at 4″ (10 cm) deep. Take 6″ (15 cm) squares, count and record worm numbers and make sure numbers don’t go down. Keep your worms in a temperature range of 60-80F (16-27C), cooling, insulating or heating as needed. Adding extra feed will help raise the temperature in cold weather, but don’t overdo it. Add cow patties and see if your worms choose to congregate there. Add an insulating layer and watch out for other animals (“with sharp teeth!”) sheltering there. Be aware that too much cooked food can attract different types of flies.
The instructions for harvesting worms, vermicompost or both are very practical. For small-scale enterprises with limited budgets there is the table harvesting method – spreading the top layer of the bin material on a table and hand-sorting worms, vermicompost and unconsumed food. This is made more efficient by using bright lights to cause the worms to cluster in the middle of the pile, avoiding the light. Another method, if you only want the worms, is to add fresh feed in a wide mesh tray on the top of the bed, after fasting the worms for a week. When the worms gather in the tray, scoop them up.
To harvest vermicompost, you can make screening boxes. Sort the finest vermicompost for sale or use on the farm, and return the coarser material and the worm cocoons to the bin. Return the worms to the bed or sell them. A way to harvest the vermiculture but not the worms is sideways separation. Set up a new bedding and feeding area adjacent to the old one, after not feeding the worms for a week or so. They will gradually move sideways into the better accommodation and you can harvest the vermicast from the old area. Continuous flow-through bins allow vermiculture harvest without disturbing the worms. This involves grates in the bottom of the bin and a way of scraping the vermicompost across the grate. This was the only place in the book where I do not understand the description, and there was no helpful diagram or photo. Fortunately a description later cleared up the mystery.
There is a good photo of a homemade trommel (cylindrical screen) involving bicycle rims. Worm farmers are definitely a hands-on crowd! Packaging and shipping can involve egg trays cut to size on a band saw, and breathable bags sewn from rolls of rowcover.
Vermicast can be tested using compost-testing criteria, and the book tells you the target values for pH and various elements and also the acceptable pathogen limits. There’s also a list of 13 bragging points which you can include on your label if selling your products. There is also a warning about what not to claim on you labels!
The last chapter of the book consists of 27 diverse global case studies, and makes inspiring and confidence-building reading. So many ideas you could use for your own worm farm! Rhonda points out that she herself is operating from a small research station, with a small staff. Sites profiled include the Len Foote Hike Inn (Georgia), a state park facility where you do indeed need to hike in. The facility was built in 1998 to be sustainable. The worm bins are fed guest meal scraps, shredded office paper, cardboard, discarded natural fiber clothes and even cotton mopheads! The Evergreen State College collaborates with Cedar Creek Corrections Center in Washington to recycle their food waste. The prisoners designed and built the equipment, saving the taxpayers $2000 per year and reducing the facility’s water consumption by 25%. The vermicompost is used in the prisoners’ garden to grow vegetables for the facility.
The Medical University of South Carolina reduced food waste with worms and has recorded the data in good academic fashion, providing everyone with some precise information on quantities, labor requirements, expenditure and productivity. Wright-Patterson Air Force Base (Ohio) began vermicomposting when they acquired a bin and a quarter-million earthworms from another air force base where they were no longer welcome. With one hour of labor per day, the staff were able to save $25/day hauling waste food and provide vermicompost for the base golf course (hey, better than chemical fertilizer!)
Various school projects are acclaimed for educating children and getting them onboard with reducing landfill lunch components by 85%, in one case. After lunch, the SCRAP carts (Separate, Compost, Reduce and Protect) carts (operated by students, staff and custodians) are wheeled around to collect up whatever has not been eaten.
The Green Organic Agricultural Production Company in Kabul, Afghanistan, is a woman-owned business with the goal of composting and vermicomposting 20% of Kabul’s organic waste, and train other women in the process. They use open-air beds built of concrete blocks, producing 100 tons of vermicompost annually.
The diversity of the farms profiled is a real help in showing the process as manageable on various scales, in various climates and with varying degrees of funding and mechanization. Perhaps the widest range is the feedstocks: everything from manures and vegetable wastes to agave bagasse at a tequila production plant, waste from a palm oil extractor plant. And scales up to 200,000 tons per day (maybe bigger). Reading these profiles will also steer you away from repeating mistakes already made by others, such as the large continuous flow-through bin made of wood, that fell apart under the strain, dumping worms and vermicompost on a concrete floor in the middle of winter in Michigan.
Corrugated cardboard is a surprising source of nitrogen – it’s in the glue. As paper is recycled, the fibers get shorter each time until they are too short to be useful for recycling (this is why egg boxes and apple trays are not recyclable. Worm farming is the perfect use for these products, and worms are partial to paper sludge.
There are five pages of Resources, nine pages of Bibliography and a twelve page Index. That’s an impressive index. Twin Oaks runs an indexing business, and I have written two books myself, so I have a fine appreciation of indexes!